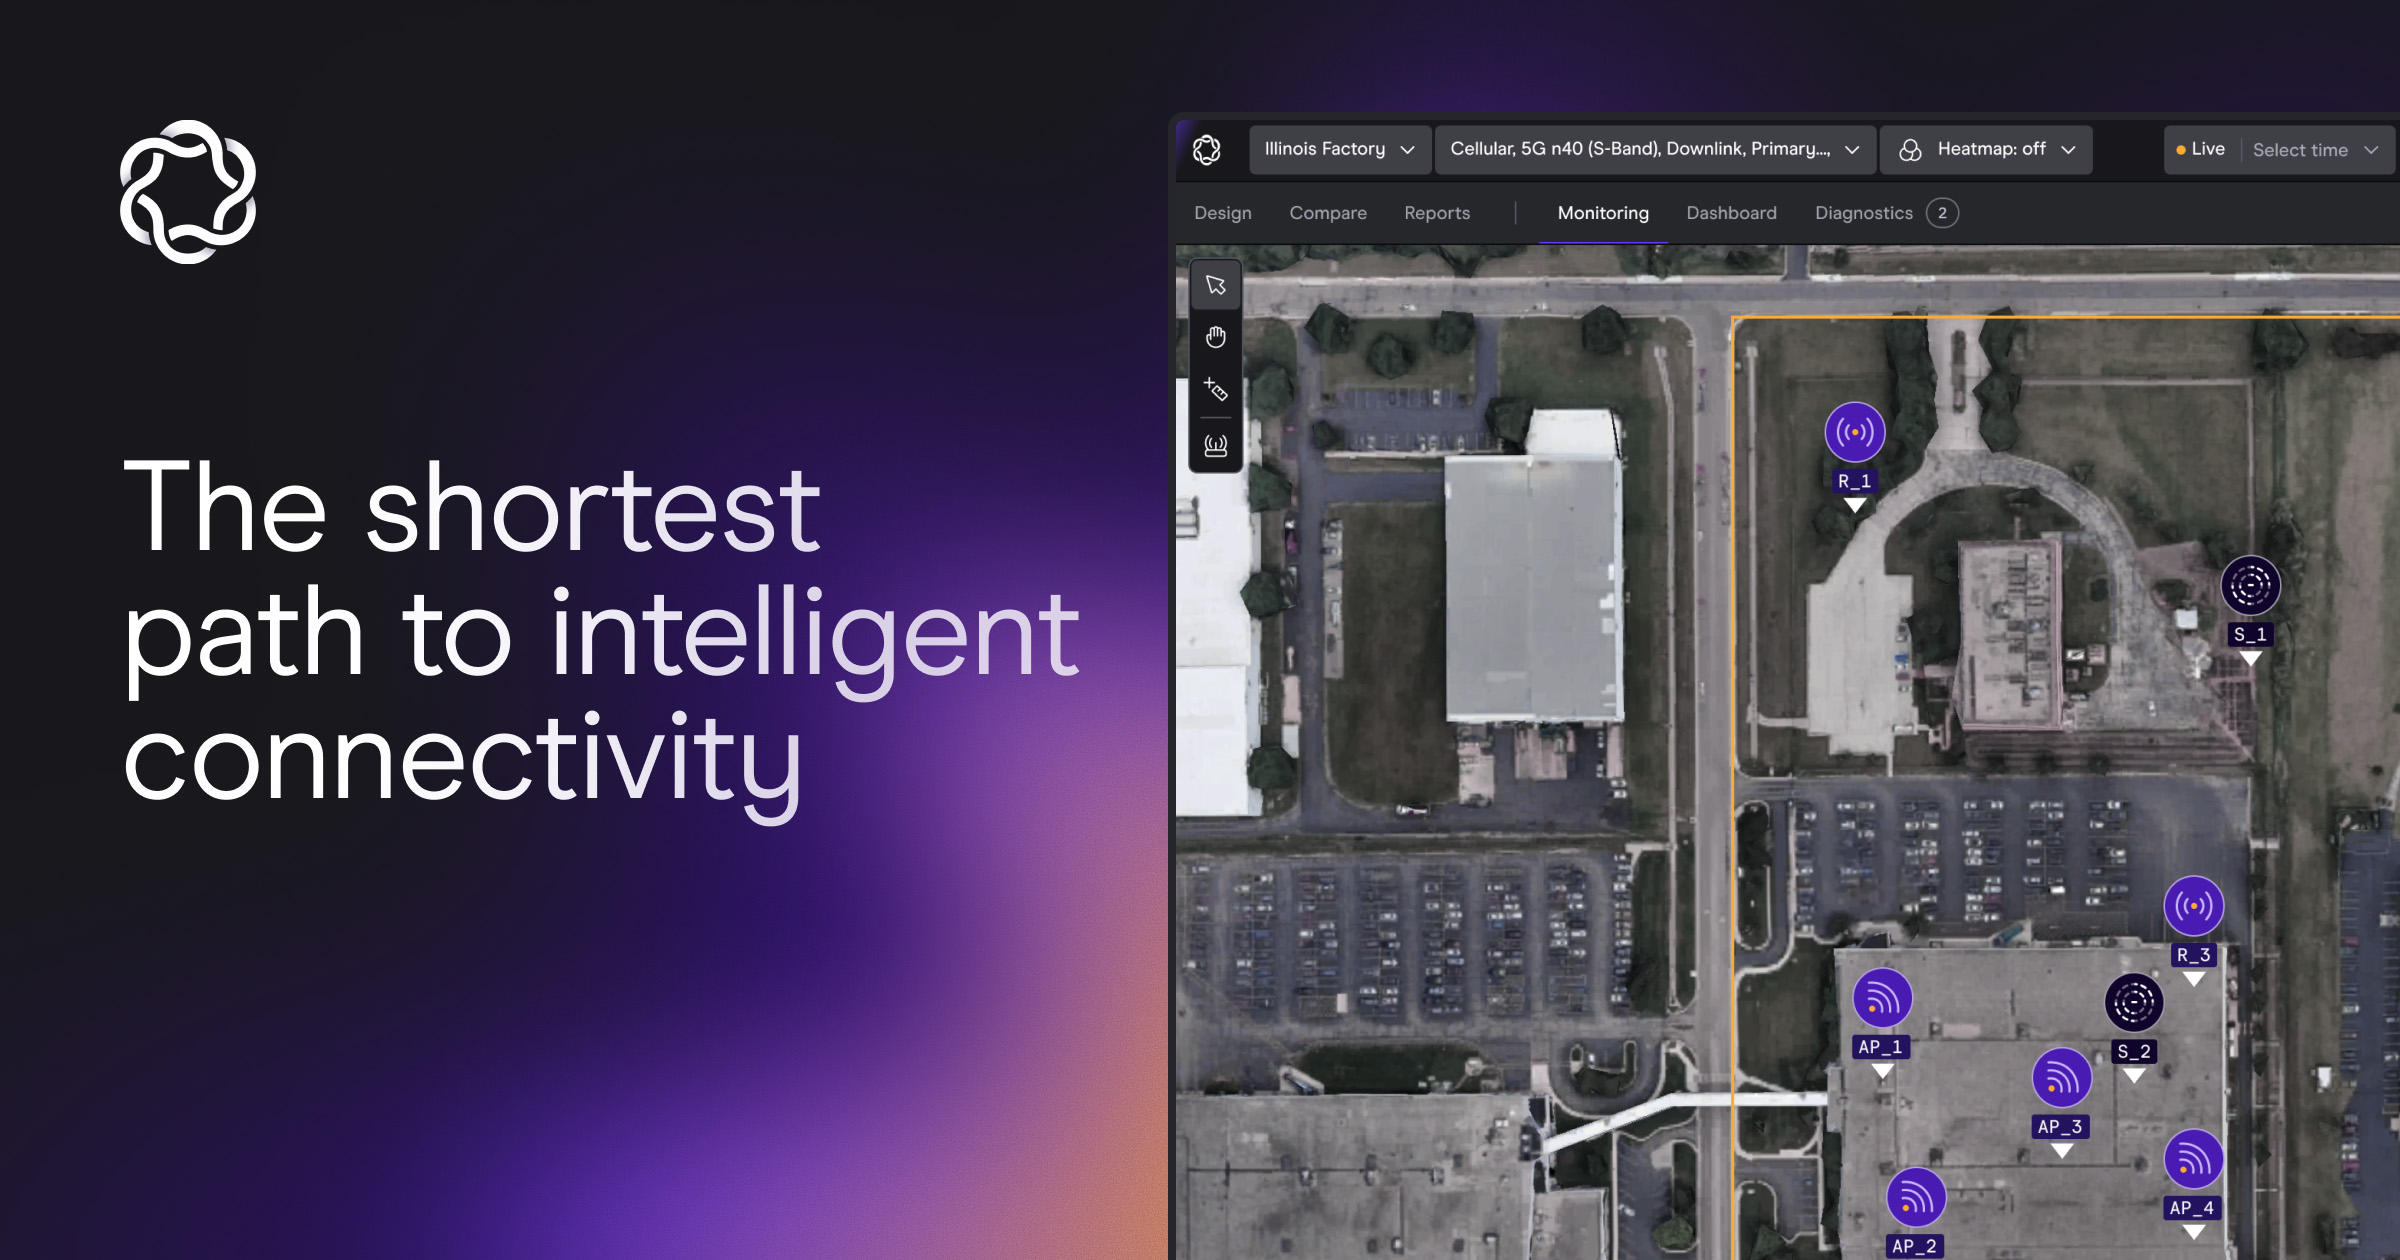
Comparing predicted wireless coverage with field measurements helps you find where a design model and the deployed environment disagree. The comparison is useful only when both datasets describe the same thing: the same area, technology, band, metric, and relevant configuration.
Start by checking those conditions before interpreting the colors. A mismatch can come from the site model, the installed network, the measurement process, or several factors together. The first task is to locate the disagreement and investigate its cause.
Save the design version you intend to validate. Record its radio positions, antenna settings, modeled environment, and selected metric. For the field dataset, record the collection time, target network, band, device, route, and any network lock settings used during the walk.
Check that the floor plan has the right scale and that samples appear where the surveyor actually walked. Indoors, checkpoint placement matters; outdoors, review the positioning data. A sample plotted on the wrong side of a wall can create a misleading disagreement even when its measured signal value is valid.
Compare like metrics. Wi-Fi RSSI and cellular RSRP answer different measurement questions. Signal strength also does not replace application testing: throughput, latency, jitter, and packet loss require their own evidence and agreed criteria.
The numbers below are invented solely to demonstrate the method. They are not customer results, a product accuracy claim, or acceptance thresholds. Assume that location, target network, band, and metric have already been checked.
At location B, the measured signal is 7 dB lower than predicted. That observation gives the engineer a place to investigate. It does not establish that the partition material is wrong, that the radio is underpowered, or that the entire model should be shifted by 7 dB.
Check the mapped position, inspect what sits between the radio and that location, and verify the installed radio and antenna configuration. Repeat the measurement where practical. Then test a specific explanation against the evidence. Three illustrative points cannot establish the accuracy of a whole-site prediction.
If an obstruction is missing from the model, update it and rerun the prediction. If the installed radio differs from the design, document that difference before deciding whether the installation or the plan should change. If the route alignment is unreliable, correct or repeat the collection before using it to tune the model.
Change one important assumption at a time where possible. Save the original comparison, record the reason for each change, and keep the resulting comparison. This creates a reviewable chain of evidence instead of a heatmap that looks better without an explanation.
Eino Site Survey places measured coverage alongside the predictive design in the project’s digital twin and supports sample-level CSV export. Its public product page describes Wi-Fi, private and public cellular, and DAS measurement workflows, including offline collection and indoor checkpoints or outdoor GPS positioning.
Use the documented measurement scope for the equipment being evaluated. For example, the current page lists Wi-Fi 6 measurements on 2.4 and 5 GHz; that should not be interpreted as a claim of 6 GHz measurement support.
Close the review with the findings, remaining uncertainties, agreed next actions, and any additional application tests required. Acceptance should follow the project’s agreed requirements and responsible reviewer, rather than a universal signal threshold or a visually reassuring map.
Discuss your design and validation workflow.